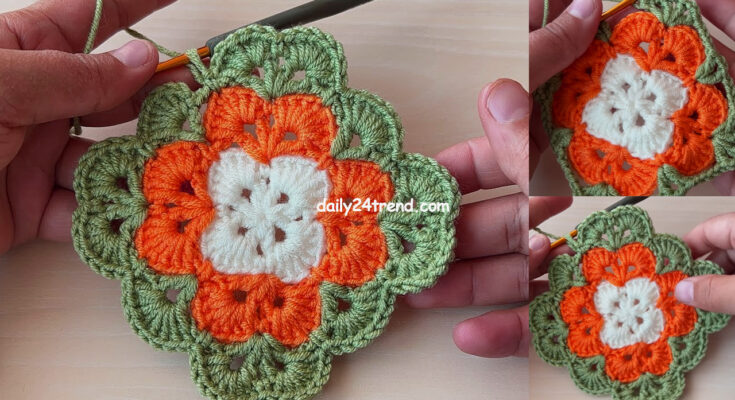
Creating blankets that showcase beautiful paintings or artwork is a unique and creative project that combines art and crafting. Here’s a general guide on how you might approach making blankets featuring artwork:

Materials you’ll need:
- Blanket base fabric (could be fleece, cotton, or other suitable material)
- High-quality prints or reproductions of the artwork
- Fabric glue or iron-on adhesive (if not using printed fabric)
- Scissors or rotary cutter
- Sewing machine or needle and thread
- Optional: embroidery floss, yarn, or fabric markers for embellishments
Instructions:
- Select the Artwork:
- Choose artwork that you want to feature on your blanket. This could be a painting, a drawing, or any visual artwork that you find beautiful and meaningful.
- Printing or Transferring:
- If you have high-quality prints or reproductions of the artwork, you can use these directly.
- If you have the digital image of the artwork, you can get it professionally printed onto fabric, or you can use iron-on transfer paper to transfer the image onto fabric yourself.
- Cut or Prepare the Fabric:
- Prepare your base fabric to the desired size of the blanket. This will be the background for the artwork.
- Cut or arrange your printed or transferred artwork to fit onto the fabric. You might have one large artwork as the centerpiece or create a collage of smaller pieces.
- Attach the Artwork:
- If you’re using printed fabric, follow the manufacturer’s instructions to adhere it to the base fabric using fabric glue or iron-on adhesive.
- If you’re using transferred images, follow the transfer paper instructions to iron the images onto the fabric.
- Embellishments (optional):
- If you want to add extra dimension to the artwork, you can use embroidery floss, yarn, or fabric markers to highlight certain parts of the image, add texture, or create additional designs.
- Create the Backing:
- Once the artwork is attached, you can choose to add a backing to your blanket. This could be a soft fabric that complements the artwork.
- Sew the Layers Together:
- Lay the front and back layers of the blanket with the artwork facing inwards.
- Sew around the edges, leaving an opening to turn the blanket right side out.
- Turn the blanket right side out and sew the opening closed. You can sew this by hand or use a sewing machine.
- Finishing:
- You’ve now created a beautiful blanket featuring artwork! Trim any loose threads and make sure the edges are secure.
Creating blankets with beautiful paintings is a wonderful way to combine your love for art and crafting. It’s important to handle the artwork and fabric carefully to preserve the quality of both. Keep in mind that this process might require some trial and error to achieve the desired outcome, so be patient and enjoy the creative journey!
How to make Shoes Crochet To Adult Shoes Square Size
Very easy crochet two-color baby blanket model
Very sweet crochet Rose motif making
